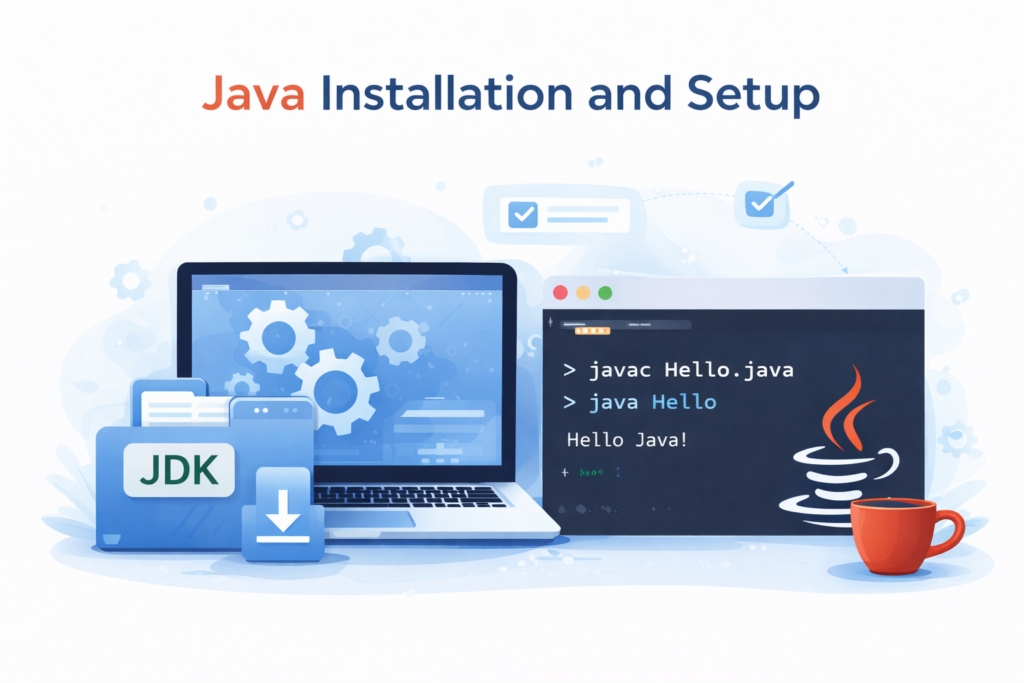
⚙️ Java Installation and Setup
📌 Overview
Before writing and executing Java programs, Java must be properly installed on the system. A correct setup ensures that programs compile and run smoothly without unnecessary configuration issues.
This guide explains:
- The easiest way to install Java
- How to verify the installation
- How to create and run the first Java program step by step
- When environment variables are required
- Common mistakes beginners usually make
🧠 Understanding What Needs to Be Installed
📦 Java Development Kit (JDK)
To develop Java programs, the Java Development Kit (JDK) is required.
The JDK includes:
- Java Compiler (
javac) - Java Runtime Environment (JRE)
- Java Virtual Machine (JVM)
- Core Java libraries and tools
👉 Installing the JDK is sufficient for both writing and running Java programs.
🌐 Recommended Way to Install Java (Simple and Beginner-Friendly)
✅ Using Adoptium (Temurin JDK)
The easiest and most reliable way to install Java is by using Adoptium (Temurin JDK).
Benefits:
- Free and open-source
- Long-Term Support (LTS) versions
- Automatically configured on most systems
- No immediate need to set environment variables
📥 Downloading and Installing the JDK
- Download the latest LTS version of Temurin JDK
- Select the correct operating system and 64-bit architecture
- Run the installer
- Accept the license agreement
- Keep default settings and complete installation
✅ Verifying Java Installation
🔍 Checking Java Version
After installation, open Command Prompt and run:
java -version
If a Java version number is displayed, Java is installed successfully.
🔍 Checking Java Compiler
Now check the compiler:
javac -version
If a version number appears, the JDK is working correctly.
👉 At this point, Java is ready to be used.
📁 Creating a Folder for Java Programs (Important for Beginners)
📌 Why This Step Is Important
Beginners often face confusion because Java files are saved in random locations. To avoid this, it is recommended to use a fixed folder for Java programs.
📂 Creating the Folder
- Open This PC
- Go to Local Disk (C:)
- Create a new folder named:
java
The folder path will be:
C:\java
👉 All Java programs will be saved inside this folder.
📝 Writing the First Java Program Using Notepad
✍️ Creating the Program File
- Open Notepad
- Type the following program:
class HelloWorld {
    public static void main(String[] args) {
        System.out.println("Java is successfully installed!");
    }
}
💾 Saving the File Correctly
- Click File → Save As
- Navigate to:
C:\java
- File name:
HelloWorld.java
- Save as type:
All Files
- Encoding:
UTF-8
👉 The file must be saved with .java extension.
💻 Compiling and Running the Program from Command Prompt
📍 Opening Command Prompt in the Correct Folder
- Open Command Prompt
- Type:
cd C:\java
- Press Enter
Now the command prompt is pointing to the folder where the Java file is stored.
▶️ Compiling the Program
Run:
javac HelloWorld.java
If no error appears, compilation is successful.
▶️ Running the Program
Run:
java HelloWorld
Expected output:
Java is successfully installed!
🎉 This confirms that Java is installed and working correctly.
⚠️ When Are Environment Variables Required?
📌 Important Clarification
For modern JDK installers (such as Adoptium), manual environment variable configuration is usually not required.
Environment variables are needed only if:
javaorjavaccommand is not recognized- Java was installed using a ZIP file
- Multiple Java versions are installed
- System PATH was not updated automatically
🔧 Understanding Environment Variables (If Needed)
🛠️ JAVA_HOME
JAVA_HOME should point to the JDK installation directory.
Example:
C:\Program Files\Eclipse Adoptium\jdk-21
➕ PATH Variable
Add the JDK bin directory to PATH:
C:\Program Files\Eclipse Adoptium\jdk-21\bin
After setting this, reopen Command Prompt and recheck:
java -version
javac -version
❌ Common Mistakes Beginners Usually Make
🚫 Saving File with .txt Extension
Example:
HelloWorld.java.txt
✔ Always select All Files while saving
🚫 File Name and Class Name Mismatch
Class name and file name must match exactly.
🚫 Running Commands from the Wrong Folder
If the command prompt is not in C:\java, compilation will fail.
✔ Always use:
cd C:\java
🚫 Installing Only JRE
JRE cannot compile programs.
✔ Always install JDK
🏁 Conclusion
📝 Final Summary
Java installation is straightforward when using modern JDK distributions such as Adoptium. After installation, creating a dedicated folder, writing programs using a simple editor, and running them from the command line helps beginners understand Java’s workflow clearly.
Environment variables should be configured only when required, keeping the initial learning process simple and focused.
A correct setup ensures a strong foundation for learning Java programming effectively.